Install a Floating Vanity for a Polished Finish
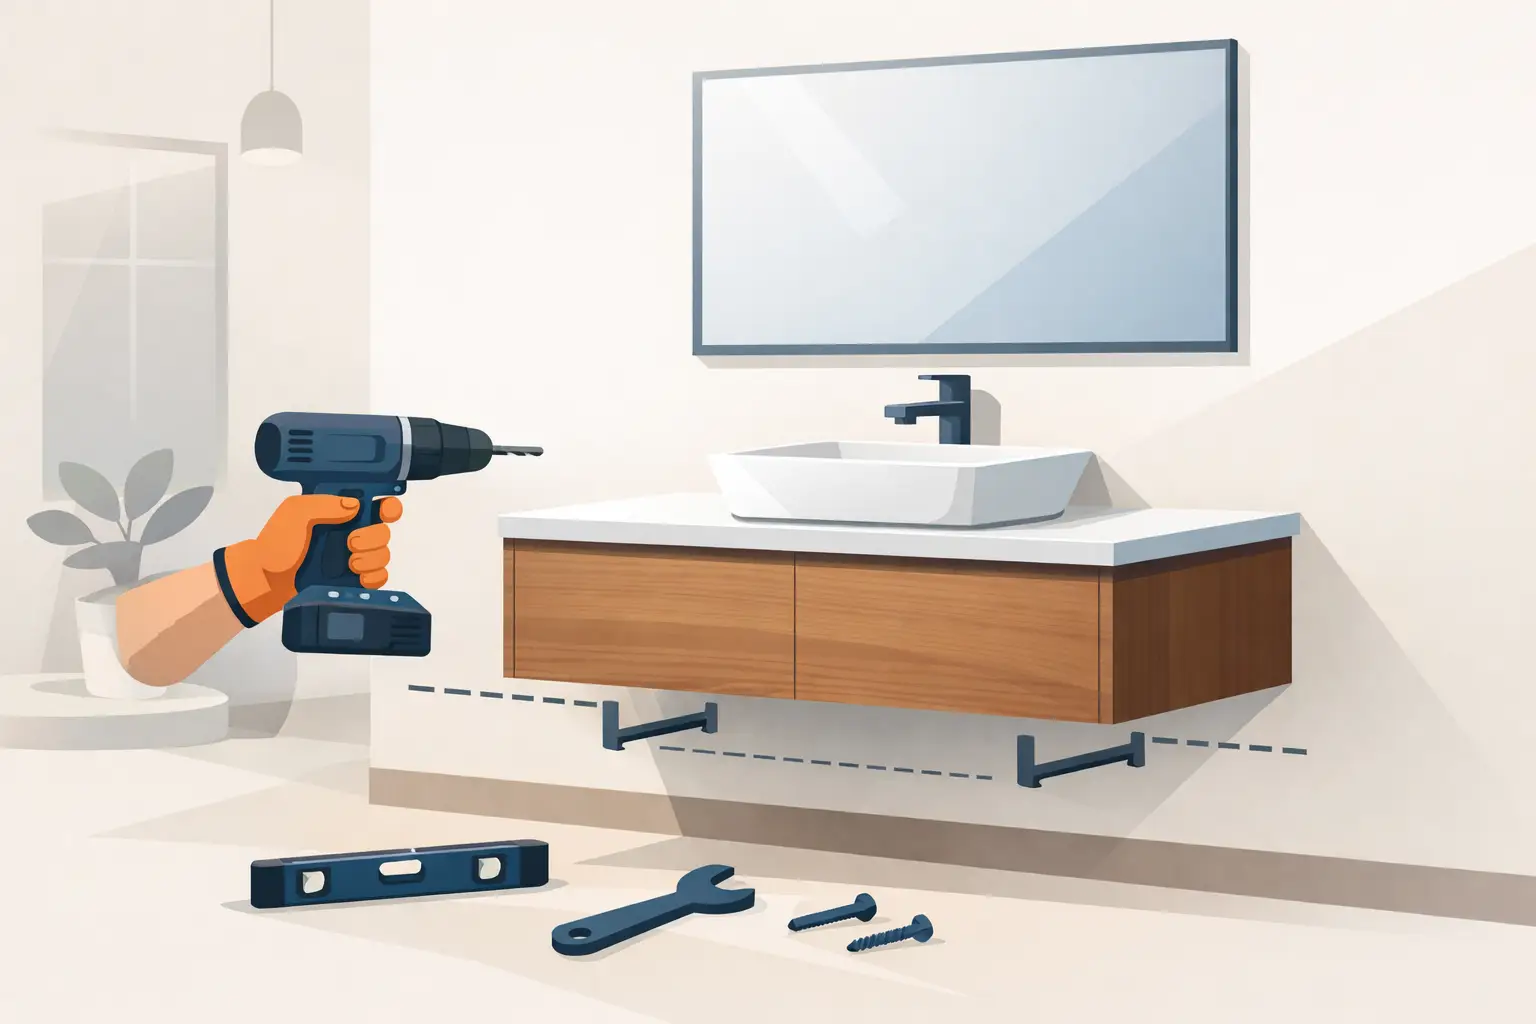
A floating vanity can make an ordinary bathroom feel deliberately designed. By lifting cabinetry off the floor, it introduces visual breathing room, showcases tile, and gives even a compact bath the composed look of a high-end retreat. But the clean, weightless effect depends on work no one sees. To install a floating vanity correctly, the wall structure, mounting height, plumbing locations, and level line all need to be right before the countertop ever goes on.
This is a project that rewards patience. A premium vanity deserves more than a quick attachment to drywall, especially once a stone top, sink, filled drawers, and daily use add significant weight. Plan the installation carefully and the result will feel as solid as it looks refined.
Start With the Wall, Not the Vanity
Floating vanities are designed to transfer their load into the wall framing. Drywall alone is not a suitable mounting surface. Before ordering or unboxing the piece, locate the studs behind the planned installation area and confirm the wall can accept the manufacturer’s mounting system.
Most wood-framed interior walls have studs spaced 16 inches on center, although that is not universal. Use a reliable stud finder, then verify the location with a small test hole in an area that will be concealed by the cabinet. Mark each stud clearly with a vertical pencil line. A magnetic finder can also help locate the screws holding drywall to framing.
If the vanity’s mounting rail or bracket does not align with enough studs, install solid blocking between studs. This generally means opening the wall, adding horizontal lumber securely between the framing members, then repairing the drywall. It is more involved than relying on heavy-duty anchors, but it creates the secure foundation a wall-hung cabinet requires. For metal studs, masonry, or unusually constructed walls, consult a qualified installer about the correct reinforcement and fasteners.
Wall condition matters as much as framing. Address water damage, loose tile, or uneven surfaces before mounting. A vanity can conceal minor cosmetic flaws, but it cannot correct a compromised wall.
Choose the Right Height and Placement
Standard vanity height typically lands around 32 to 36 inches from the finished floor to the countertop. A floating design gives you more freedom, so use that freedom with intention. A lower installation can feel relaxed and contemporary, while a slightly higher countertop may better suit taller household members. If children regularly use the bathroom, comfort deserves equal consideration.
Measure from the finished floor, not the subfloor. If tile, luxury vinyl, or another flooring material is still being installed, account for its final thickness before establishing the height. Mark the intended countertop level across the wall using a long level or laser level. Then measure down according to the cabinet manufacturer’s mounting instructions.
Consider the room as a whole. Leave enough clearance for the door swing, nearby toilet, shower enclosure, and drawer operation. In a narrow bath, a shallower floating vanity may deliver the storage you need without making the room feel crowded. The open floor beneath it is visually useful, but it is not a substitute for proper circulation space.
Gather Tools and Check the Cabinet
Read the vanity instructions before drilling. Premium designs vary: some use a full-width metal rail, some use heavy-duty cleats, and others have concealed mounting points inside the cabinet. The included hardware may be appropriate for standard wood framing, but always confirm it matches your wall construction.
For a typical installation, you will need a tape measure, pencil, level, stud finder, drill, drill bits, socket or driver set, appropriate structural screws, shims, utility knife, caulk gun, and silicone caulk. A second person is strongly recommended. Larger vanities, stone tops, and double-sink models are simply not safe or practical to lift alone.
Before installation day, inspect the cabinet for shipping damage, check that doors and drawers operate properly, and compare the plumbing cutouts with your existing supply and drain locations. If a drawer box conflicts with a drainpipe, do not force the cabinet into place. A plumber may be able to adjust the rough-in, or you may need a vanity configured for your plumbing layout.
How to Install a Floating Vanity Securely
Turn off the water supply valves before disconnecting the faucet lines and trap. If the room is undergoing a full renovation, the vanity is usually installed after flooring and wall finishes are complete, but before final accessories such as mirrors and sconces are mounted.
Begin by holding the mounting rail or cabinet against the wall at the marked height. Confirm it is level, then mark the fastener locations where they intersect studs or installed blocking. Pre-drill pilot holes to reduce the risk of splitting wood and to keep large screws tracking accurately.
Fasten the rail or mounting cleat to the framing with structural screws sized according to the manufacturer’s requirements. Drive the fasteners firmly, but do not overtighten to the point that the rail bends or damages the wall finish. Check for level again after the rail is secured. A rail that is off by even a small amount can leave the countertop visibly sloped and drawers prone to drifting open.
With a helper, lift the cabinet onto its mounting system. Depending on the design, it may hook onto the rail before being secured with interior adjustment screws. Do not assume the cabinet is fully locked into position until you have followed every fastening step in the instructions. Once mounted, check it in three ways: left to right, front to back, and diagonally across the cabinet face.
Many wall-hung vanities include adjustment hardware that allows small corrections after hanging. Use it to bring the cabinet level and flush with the wall. If a slight gap remains because the wall is not perfectly flat, shims may be needed at approved support points. Avoid excessive shimming, which can create stress on the cabinet or leave it unsupported where it needs contact.
Before adding the countertop, gently test the cabinet for movement. There should be no rocking, pulling away from the wall, or flexing at the mounting points. This is the moment to correct an issue, not after the sink is connected and the drawers are full of products.
Set the Countertop and Reconnect Plumbing
Countertop installation depends on the material. Some vanity tops are secured with a thin, continuous bead of silicone at the cabinet’s upper edges; others arrive preattached. Natural stone and heavier solid-surface tops may need professional handling because their weight changes the installation risk considerably.
Dry-fit the top first. Confirm the sink opening, faucet holes, backsplash, and wall alignment all look correct. When you are satisfied, apply the recommended adhesive or silicone, set the top carefully, and check level once more. Do not use a thick layer of caulk to compensate for a crooked cabinet or uneven wall.
Install the faucet and drain assembly according to their instructions, then reconnect the supply lines and P-trap. Hand-tighten fittings first, then use tools only where specified. Over-tightening plastic drain components is a common source of cracks and leaks. Turn the water back on slowly and inspect every connection while the faucet runs and the sink drains.
Finish with a neat bead of bathroom-grade silicone where the countertop or backsplash meets the wall. This small detail prevents water from entering the gap behind the vanity and gives the installation its crisp, finished edge. Let the sealant cure for the stated time before exposing it to moisture.
Details That Make the Design Feel Custom
A floating vanity has the strongest impact when the supporting details are equally considered. Center the mirror or medicine cabinet over the sink, not necessarily over the whole room. Keep wall lighting high enough to illuminate faces without crowding the faucet line. If the vanity includes under-cabinet lighting, use it as a soft evening layer rather than the room’s only source of light.
The space below the cabinet is also an opportunity. Continuous tile makes the room feel larger, while a small runner can introduce warmth without obscuring the floating effect. In a family bathroom, choose practical drawer organizers and keep frequently used items within easy reach. In a powder room, a streamlined basin and a restrained set of accessories will let the vanity’s finish take center stage.
A floating vanity is not ideal for every situation. Homes with fragile walls, unresolved plumbing placement, or a need for maximum enclosed storage may be better served by a floor-mounted model. Yet when the structure is sound and the scale is right, this elevated style delivers practical storage with a distinctly architectural finish.
Take time to measure twice, reinforce where necessary, and choose materials that belong together. The final effect is more than extra floor space – it is a bathroom that feels lighter, cleaner, and thoughtfully yours.













Leave a comment